Showing posts with label crafts. Show all posts

Tuesday, February 14, 2012

Valentine's Delight

Hi there!

I'm sorry it's been so long since I last posted. Last week was crazy, and this weekend I didn't find the time or topics to blog about until it was too late! Oh well, fortunately this week will have lots of blog worthy subject matter, as Valentine's Day and my birthday are only one day apart:]

This Sunday, I got a wild hare to make homemade Valentine's. Fortunately, I have an amazingly sweet husband who gladly cooperated--even when I decided we needed to make Valentine's to and from Jack and Charlotte too.

Here's what we did:

First, we gathered the supplies. My Mother-in-Law has an amazing amount of fabric stored up from years of collecting. I'm really envious of her collection, but I realized while crafting this weekend that I have a similarly stocked craft supply selection. Just look at all of the stickers...and these are only the ones that applied to V-Day!


Here's the card Charlotte made for Jack. Two little known facts: Jack's (made up) middle name is Keats, and Charlotte has amazing handwriting.

Here's Charlotte's card from Jack. Turns out Jack has sad handwriting, and writes lots of his letters backwards. The paw print in the middle of the heart is really his (proof below).
Don't worry, animal people--the paint was non-toxic and safe.


Here is Jack's Valentine from us (Thomas hand painted it!)
And, here is Charlotte's Valentine from us, made with leftover paper from our envelope liners.


The others (ours to each other) are still a surprise as we won't be exchanging until tonight. Even if you aren't into Valentine's Day as a commercial, spendy holiday, we had lots of fun making all of these cards for free and spending time together doing it.

Enjoy your day!

-T, K, J & C

Wednesday, December 7, 2011

Charlie Brown Christmas Wreath

Earlier in the week, I promised I'd do a post on the Christmas DIY crafts we completed this weekend. One of them is top secret (since it's a gift for our moms), but the other is cute, simple, and share-able.

Behold, the Charlie Brown Christmas Wreath.


This wreath was a combination of two things: this pin on Pinterest and my love for the 'natural' wreath. As evidenced by our wedding, I'm a huge fan of combining delicate, synthetic textures and natural ones (ex. lace and burlap). When I saw the above pin, I was inspired...but I wasn't a huge fan of the white yarn-wrapped wreath base--or the $40 Etsy price tag. 


If you're a fan of the Charlie-Browned look, here's what you need to make your own for less than $10:
 A wreath. This one is around 20" in diameter and was $5 at Hobby Lobby.

You'll also need a hot glue gun, scissors, a pen/pencil, and some thin black ribbon--all of which I had on hand. 

Finally, you'll need a sheet of felt in each of your desired colors. We like multi-colored lights (see: our house), so we got blue, green, yellow, orange, red, and white. It was like $2.

I also printed off these bulb templates for a bit of a tracing guide. Fo' free.

 Start by tracing the Christmas light shape onto your felt. In the end, I used 3 bulbs of each color.

Cut all the bulbs out.

I didn't photograph the next part, but here's what I did: cut a small piece of felt for the black part of the bulb (Thomas says it's called a socket). Hot glued it on to the end of the bulb. Next, I wrapped the ribbon around the wreath (using the Pinterest wreath as a guide) and glued on the bulbs about an inch and a half apart. I think the pictures explain it better.


It really was simple, but I wasn't great at photographing the steps, so leave any questions you have in the comments!

Tomorrow I'll be wrapping up the Christmas decor posts and showing you my favorite part of our Christmas House--the garland.

-Kinsey

Tuesday, October 25, 2011

Fall Leaf Garland

Hey all!

Can I just say that literally ALL my Fall decor ideas this year came from Pinterest? This particular craft is super quick, easy, and pretty. Sarah at Clover Lane posted about the idea, and I've been excited to collect leaves for a few weeks now.

The perfect leaf collecting opportunity presented itself this last weekend when we visited Kinsey Family Farm, and we couldn't be happier with how easy the project was or how well it turned out! The whole project cost less than $5. Note: Be super careful while doing this project. You could easily maim yourself with the melted wax, and I won't be held responsible for that.

Here's what you'll need:
1. Wax (we used Crafty Candles because we couldn't find Gulf wax)

2. A Disposable Pie Plate


3. Fall Leaves of all shapes sizes, and colors. Like these.

4. Thread or fishing line 

5. Wax paper

Here's what you do:
Once you've collected your leaves, set them all out to make sure they're dry.
In the meantime, melt your wax in a disposable pan. CAREFULLY, on low heat.

And lay out some wax paper.

Once the wax is melted, turn the burner off. Then, carefully dip the leaves into the melted wax (I obviously got a little impatient since the wax isn't completely melted in the picture below).

Coat them well, then gently shake off the excess. Finally, lay them on the wax paper to dry.

We let ours set up for around an hour. Once the wax hardens, the leaves peel right off.

Finally, tie the leaves together with some thread or fishing line. Be really careful not to tangle the thread. (Tangle it anyway. Cry in shame.)


Finally, hang the leaf garland wherever you like.


As a complete aside, while we were on the way home from KFF on Sunday, we saw a park with some beautiful trees and decided to stop.

Pretty, yes?

As we pulled into the park, I noticed some older teenagers with fake swords and cardboard shields battling in the grass. That's when I realized they were LARPing. 

For those of you who aren't familiar with the term (probably everyone), LARPing stands for live action role playing. It's synonymous with nerdery--I can say that because I am a nerd--and it's pretty entertaining to watch. 

While we walked Jack around the park picking up pretty leaves on a peaceful Sunday afternoon, these kids kicked up a cloud of dust while fighting a medieval battle, complete with costumes and lingo. It was awesome, to say the least.

Even Jack got in on the action by bowing down to signal his readiness for battle.

Now that you know about LARPing, I hope you'll go join in a medieval battle or something. Happy Tuesday!

-T, K, J & C

Monday, October 10, 2011

Felt Rose DIY: Part 2

Hello again! 

Monday is back, that tricky beast. Fortunately I have another fun felt rose DIY to post about, and I'm drinking a tasty cup of cinnamon coffee! Not a bad start to the week I'd say.

Once we finished the big wreath from yesterday's post, we discovered that we had lots of yellow felt left over. The felt we used for the first wreath was actually a dandelion color (not a true yellow), and we ended up deciding against mixing in some bright yellow that we'd also gotten at Michael's. Here's what we chose to do with it instead...
Thomas had the idea of filling a little turquoise bowl with yellow roses. Super cute right?! I've been looking for a way to display that bowl, and I think this is pretty perfect. 

Remember the orange wreath in this picture from yesterday? Probably not, so here it is again in the bottom left.

I decided to re-purpose that wreath from my childhood by painting it brown and adding a spray of flowers.
Pretty much, these roses are our new favorite thing. The total for both of the above projects was less than $6--around $1 for the felt and $5 for the brown spray paint. Felt flowers are easy to make and can be made in all different sizes. I'm contemplating making a headband, but I have a tiny one that I'm for sure making into a ring. I'll post pictures once I finish!

Finally, I made these little owls (Jack and Charlotte are the babies...don't worry, we didn't have secret twins or anything) out of paint samples we found while wandering around Lowe's.


I originally wanted to make some felt owls for the small wreath, but saw the [free] paint samples aisle and decided to use those instead. I like the wreath as is, but I'm considering framing these cuties anyway.

I hope you all have a great Monday! Happy crafting:]

-Kinsey

Sunday, October 9, 2011

Felt Rose DIY: Part 1

Hey guys!

Today Thomas and I have done LOTS of crafts and completed what we feel like are some of our most successful DIY projects yet. Before I start, I have to tell you that I didn't come up with this craft on my own. I saw a tutorial for the wreath on Pinterest, and read more about it on the blog Little Things Bring Smiles. Katie did an excellent tutorial on making felt flowers, which can be found here. Now, lets begin.

Here's what you'll need for the wreath: (Note: If you decide to trace circles for your flowers, use a lighter colored pen. Otherwise you'll end up with dirty looking roses).

And here is how you actually make the flowers/wreath:

Here's what Charlotte did the whole time we worked. Wrestled Thomas' shoes.

Lets just say that this whole process was pretty messy. It's really, really important that you put a trash bag under your wreath while you glue the flowers on--otherwise, glue will probably get everywhere. Regardless of any precautionary steps you take, felt will definitely get everywhere:]
After you finish, walk around with your wreath looking for the perfect hanging spot.

Even though the wreath looked unbelievably cute on our pets, we decided to hang ours on the front door, which is protected by storm glass. The felt can't get wet so be sure to bring yours in if it gets rainy.

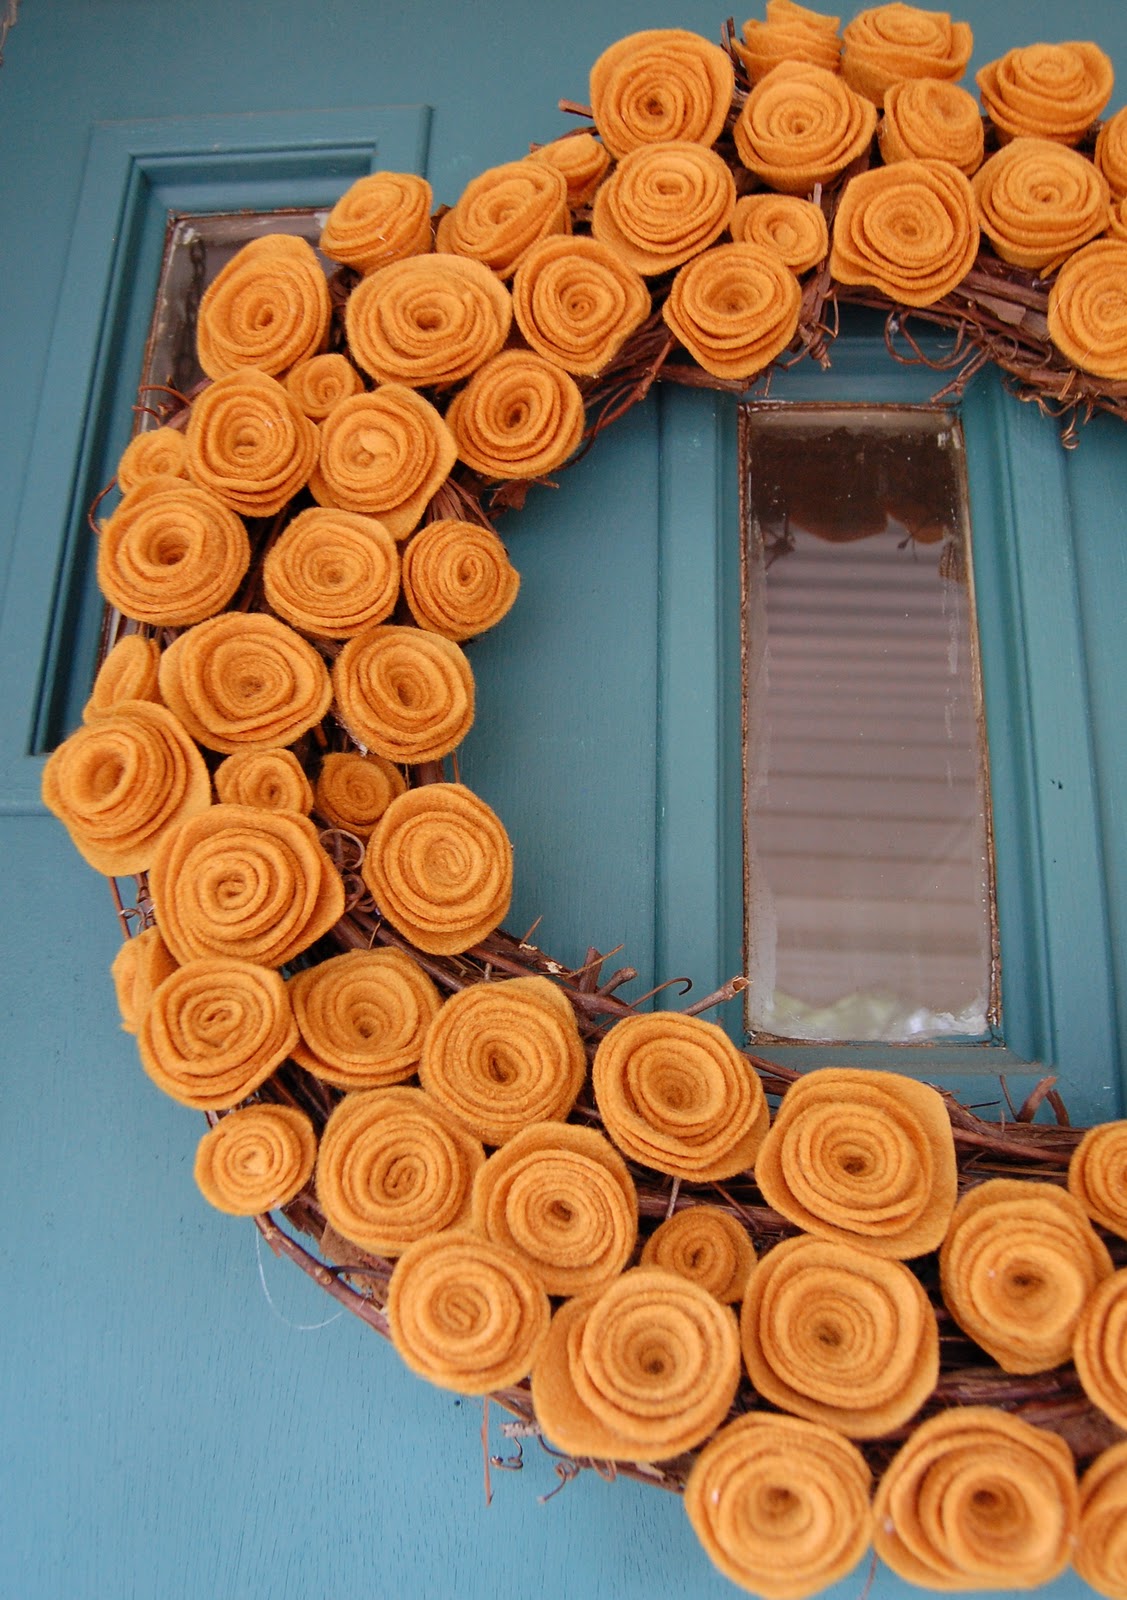
I'm SUPER happy with the contrast between the orange roses and the dark blue of our door. It's one of my favorite color combinations!


We also got some real flower pots, so our Fall porch is now finished!
We love how everything turned out, especially given that we got all the felt and the wreath itself for less than $10! Tomorrow I'll be posting about a couple of other felt-rose crafts that are in the works, so I hope you'll be back then:]

-Kinsey